Performance through Innovation and Tradition
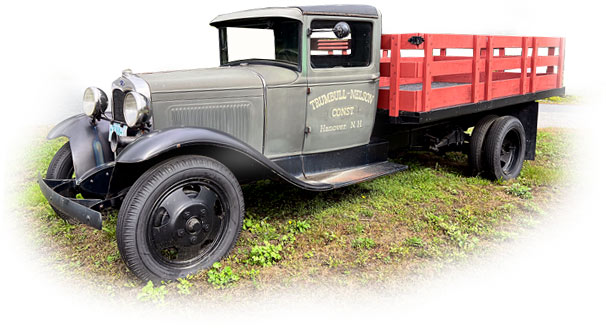
Founded in 1917, Trumbull-Nelson has been serving New Hampshire and Vermont construction clients for over a century. As a result, we understand the value of long-term relationships.
We now focus on a range of general contracting services for institutional, commercial, industrial, and residential clients. Because of our commitment to sustainability, we welcome projects with LEED certification requirements and offer decades of experience in energy efficiency improvements and new construction innovations.
Building on the dedication of team members past and present, we continue the tradition of delivering personal and professional service with integrity, becoming one of northern New England’s most respected builders.
Performance through Innovation and Tradition
Founded in 1917, Trumbull-Nelson has been serving New Hampshire and Vermont construction clients for over a century. As a result, we understand the value of long-term relationships.
We now focus on a range of general contracting services for institutional, commercial, industrial, and residential clients. Because of our commitment to sustainability, we welcome projects with LEED certification requirements and offer decades of experience in energy efficiency improvements and new construction innovations.
Building on the dedication of team members past and present, we continue the tradition of delivering personal and professional service with integrity, becoming one of northern New England’s most respected builders.


